How to Paint or Draw From a Photo
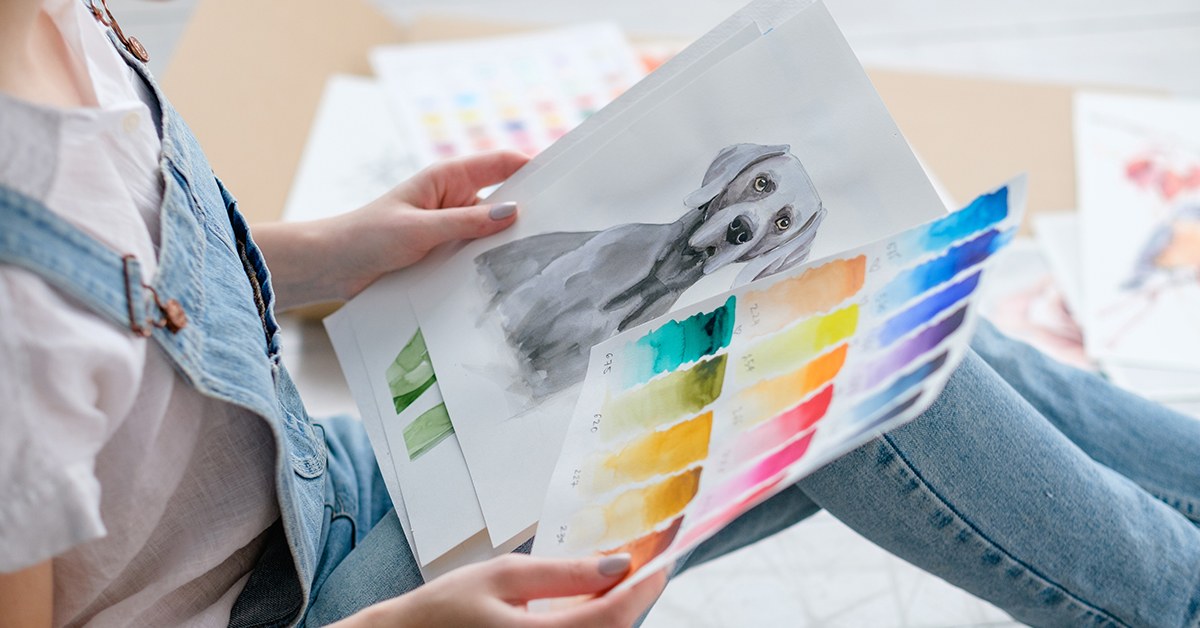
Whether you’re just learning to draw or have been painting for years, there’s always something new to observe. This is especially true when you’re working with a subject for the first time. A photograph of a person, object, or landscape can be a valuable reference to consult as you work on getting the outline, proportions, framing, and colors just right.
If you’ve never done it before, learning to paint from a photo can seem intimidating. Where should you start? Follow these steps to use a picture as a jumping off point for your next work of art.
1. Make a Photo Grid
Use a ruler to mark horizontal and vertical lines over your reference photo. The idea is to create your own graph over top of the picture, so lines should be spaced equally. It’s generally easiest to make 1-inch squares to divide a photo into evenly spaced segments.
2. Make a Drawing Grid
To draw from your photo, you’ll also need a grid lightly sketched onto your drawing paper — or your canvas, if you’re painting. Your artwork is likely to be larger than your reference photo, so you’ll need to count the number of horizontal squares and the number of vertical squares on your photo. Then you’ll need to divide your canvas into the same amount of squares. To do this, divide the total width by the number of horizontal squares, and use that to measure your lines appropriately. Repeat for the vertical, and you should have a grid of larger but proportional squares on your drawing surface.
3. Start at Square One
Square one can actually be any square you like. The important thing is to focus only on what’s inside one square of your photograph at a time. This allows you to concentrate on getting the proportions correct as you begin to draw. For example, if you’re sketching a cello, notice how the curve of the instrument passes through one of the photo’s squares. In the corresponding square on your canvas, draw a line that matches those proportions. Continue through adjacent squares, using the photograph as a reference until you complete your sketch.
4. Be Careful With Color
Once your outline is in place, you’re ready to paint or use pastels, crayons, or colored pencils to add color. Use the grid to help you focus on a small area in a similar manner, but don’t feel like you have to make an exact copy of the texture of the photograph. Experienced artists know that photos often flatten out the color or perception of depth, so you can use your imagination to make your artwork unique. After all, that’s what art is all about!
For everything you need to make your next drawing or painting a masterpiece, come to Jerry’s Artarama for all your local art supply needs. We have great deals on artist’s materials for everyone, from novices to the pros. Talk to one of our friendly staff members to get started on your next big project today!
Norwalk, CT