Easy At-Home Art Projects To Do With Kids
Whether you are a parent, a grandparent, an aunt or uncle, or even a babysitter, you probably know how quickly kids can burn through different activities. While many of us are still working and playing from home, finding new ways to keep children entertained while also teaching them new skills is crucial. Art is a fantastic and fun way to practice cutting and drawing, work on identifying colors and shapes, and build upon kids’ motor skills and hand-eye coordination.
Check out some of the projects below for ideas on how art can keep your kids happy, entertained, and constantly learning.
Marble Art
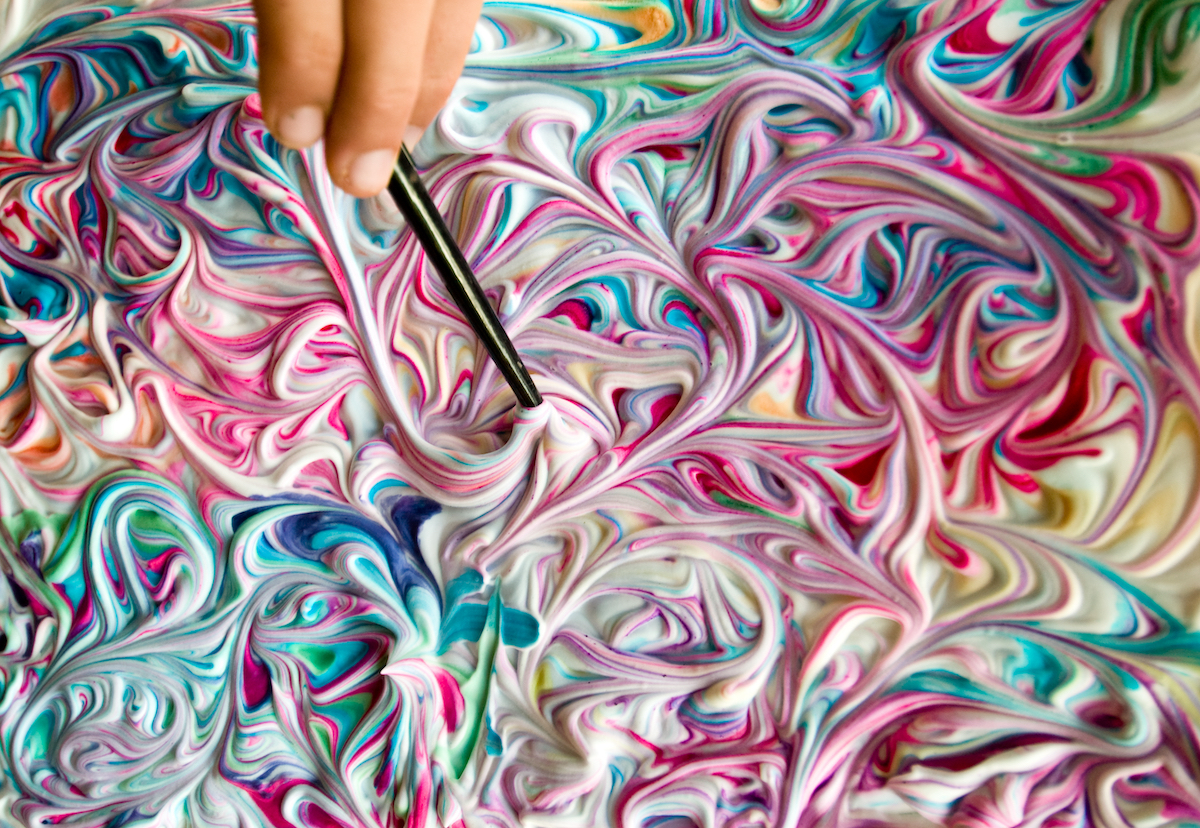
Marble painting using shaving cream is a fun, sensory experience that leaves your child with an interesting and colorful painting. Plus, it’s super easy to set up.
- First, you should find a container large enough to put a generous amount of shaving cream in and use paper that is approximately the size of it. Pro tip: use a thicker watercolor paper rather than a printer paper so it holds up against the shaving cream.
- Once your shaving cream is spread in an even layer across the container, you can use either droppers or brushes to paint vibrant colors onto the shaving cream.
- Use a popsicle stick to swirl the colors to your liking.
- Place your paper onto the colors and press lightly. Once you remove your paper from the colors, wait a few minutes before gently wiping the excess shaving cream off with a paper towel.
- After you allow the paper to dry, leave it as is or cut it into hearts, butterflies, dragons, or other shapes to display on windows.
Homemade Masquerade
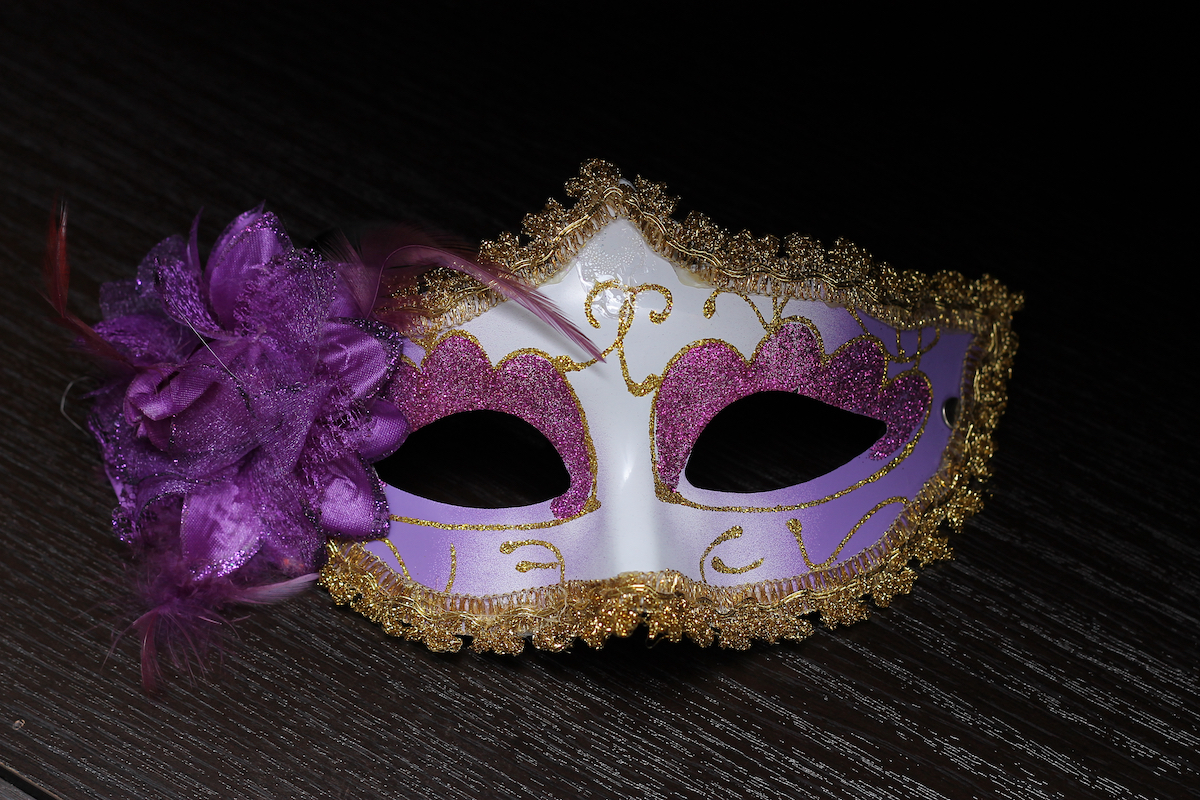
Bring back the excitement of carnivals and masquerade balls by giving your kids the opportunity to create and style their own mask. The easiest way to do this is to papier mache a plastic craft store mask that will be used as a mold.
- With the mold (plastic mask of your choice) in hand, create the papier mache mix which consists of 1:1 ratios of flour and water to create a paste.
- Dip strips of newspaper into the paste, removing any excess, and arrange onto the plastic mask being used as your mold. Repeat this process until the entire mold is covered, and then allow to dry.
- Once your mask is dry, the sky’s the limit for how you and your child can decorate them. Create a bird mask with vibrant paints, colorful puffs, and feathers or try a more mysterious look by using darker paints, lace, and glitter or jewels.
- After the masks are fully decorated and dry, you can either attach an elastic strap to it or glue a plastic rod, depending on how it is to be carried and worn.
Sticker Paintings or Mixed Media Art
The beauty of teaching children art is that your projects can be either modified for younger children or made more difficult for older children. By incorporating sticker painting into mixed media art, it allows children the freedom to express themselves in colors, fabrics, and textures.
- Gather materials like ribbons, buttons, puff balls, sequins, glitter, sticker, jewels, fabrics, and anything else you have available. You will also need paint, glue, canvases and/or paper, and toothpicks.
- Once you have your materials, you can either ask your child to create a scene or give them the freedom to make their own piece of art. The glue can be used to secure any materials they like to their canvas or paper, after which they can paint around the uncovered areas.
- If the child uses stickers, guide them on how to remove the sticker from the canvas or paper using the toothpick after they have painted over it. When they lift the sticker off, it will leave white space in the outline of the shape.
- Once the piece is dry, you can either frame the canvas or display it in other ways around your home or the child’s room.
Make Heart-Shaped Crayons
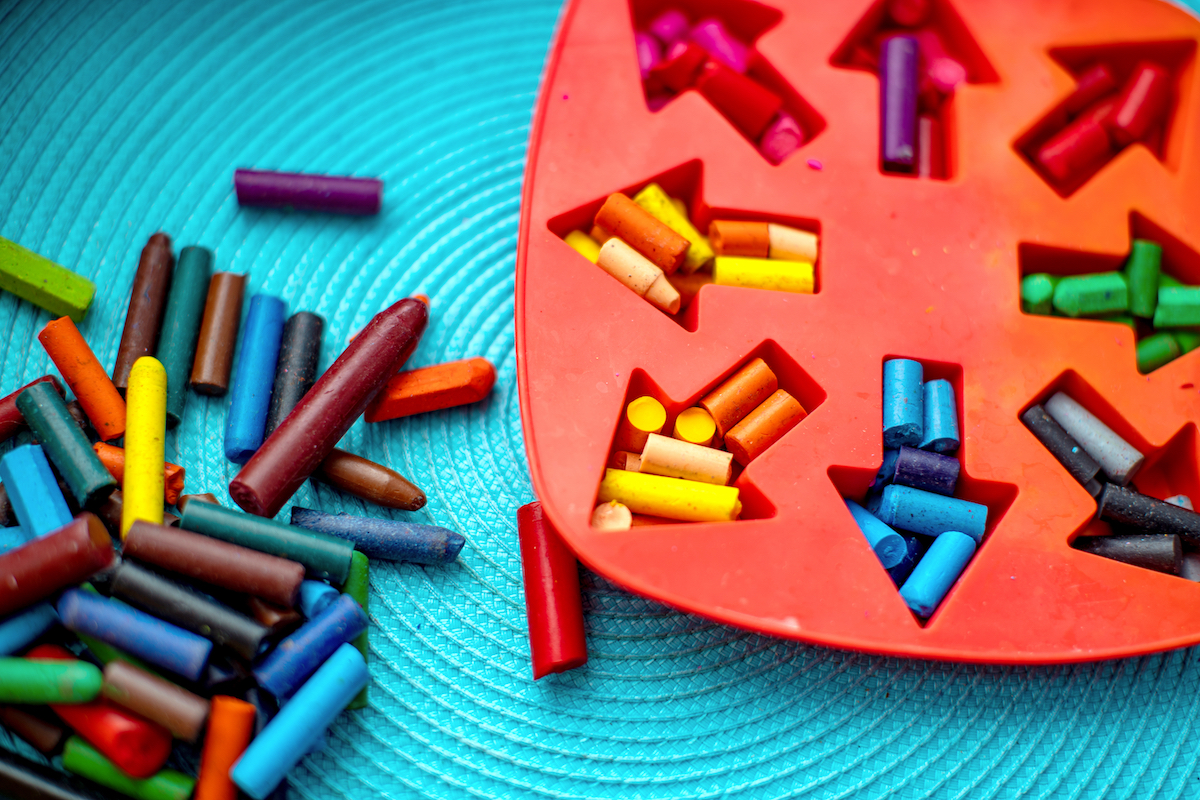
Melting crayons into a fun shape is a great way to use up the stubs of old crayons and create a new medium for yourself or as a gift that can be given to classmates, friends, or family.
- Preheat your oven to 250 degrees.
- Remove the paper from any of the old crayons you have to use and then break them into smaller pieces.
- Arrange them by size, color, or whatever your preference may be into a silicone mold. Your mold can be hearts, dinosaurs, arrows – the options are endless.
- Place your mold onto a cookie sheet and put it into the oven for about 12 minutes. However, keep an eye on the crayons anyways so the colors don’t meld together too much.
- Once the crayons have melted, remove them from the oven and allow them to cool fully. You should have no problem popping the new crayons out of your silicone molds!